The Secret to Cinematic Underwater Videos: Your DPV
There’s nothing quite like flying across a reef, wreck, or limestone cavern with a DPV—and capturing it on video makes the moment last forever. But if you’ve ever ended a dive only to find shaky footage or bad framing, you’re not alone.
The truth is, your DPV can be one of the most powerful cinematic tools in your dive kit—if you know how to use it. And the secret to smooth, stunning footage? It starts with the Picatinny rail.
Why DPVs Are the Ultimate Tool for Underwater Filming
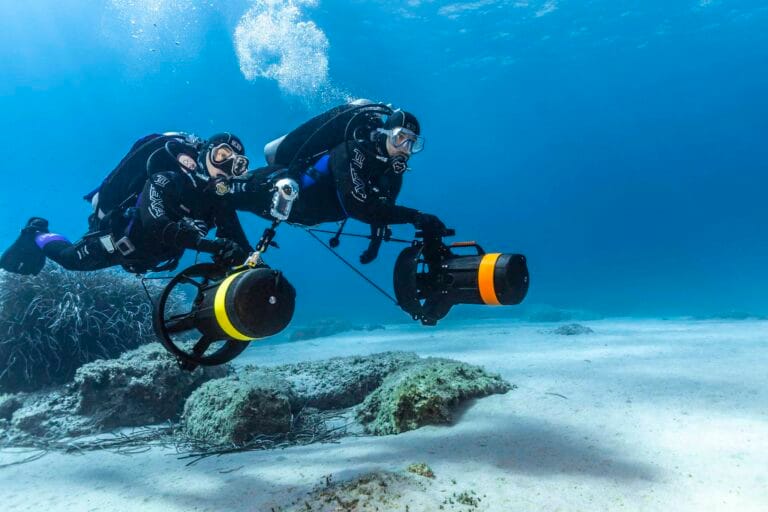
Unlike handheld footage, a DPV allows for fluid tracking shots, wide-angle reveals, and stabilized movement that’s nearly impossible to achieve by swimming alone. Whether you’re gliding over a reef wall or shooting through a swim-through, the DPV becomes your underwater dolly—and your creative playground.
Pair that with modern action cameras like the GoPro HERO13 or Insta360 X5, and you have everything you need to film dives that actually feel as cinematic as they look in your mind.
What Is the Picatinny Rail—and Why It Matters for Filming
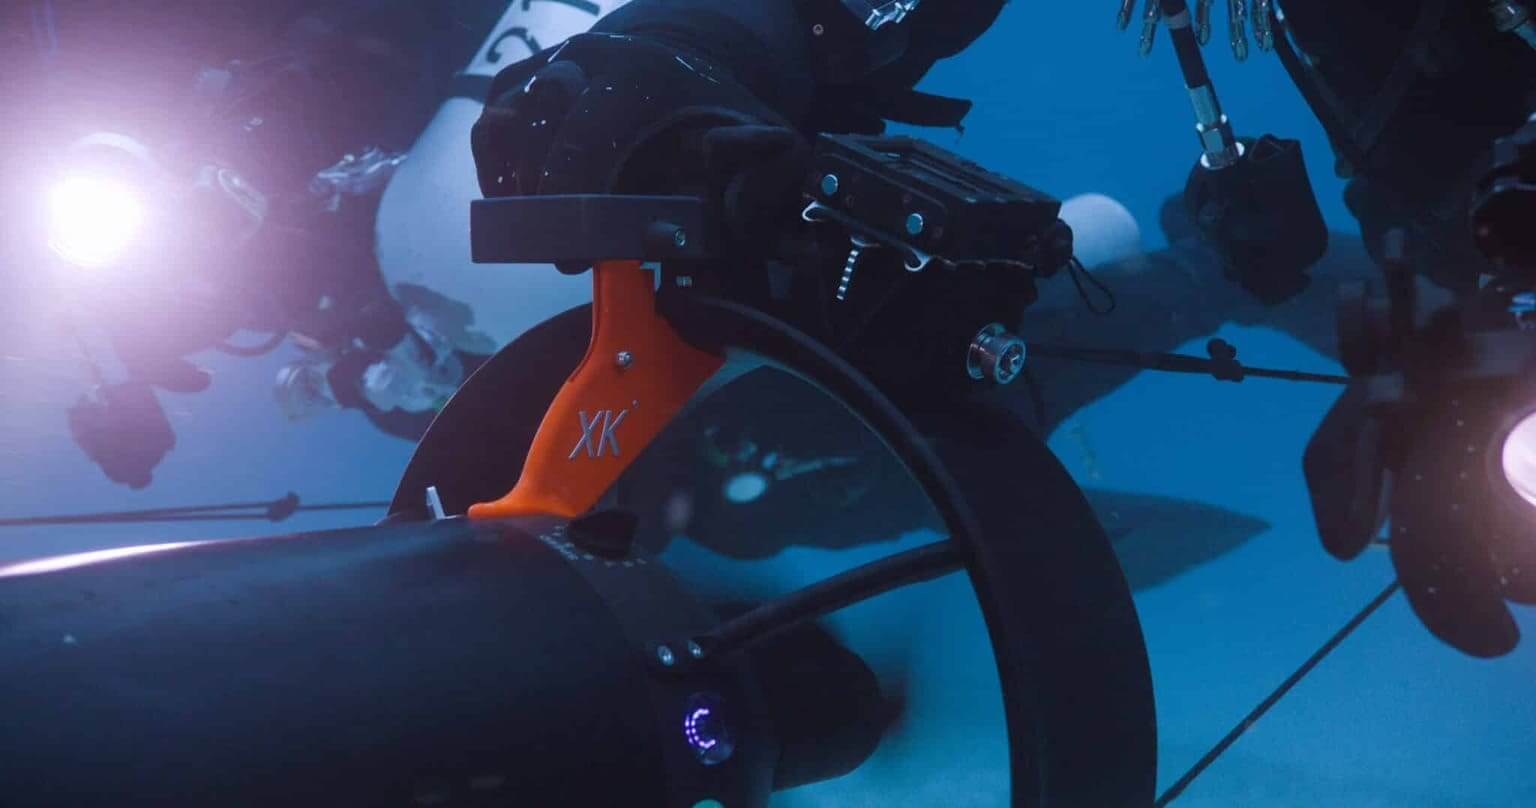
The Picatinny rail is a modular mounting system originally developed for military applications. Today, it’s a standard feature on all Suex VR Series scooters, offering a durable, low-profile way to attach accessories—especially cameras.
Its key advantages for divers:
- Rock-solid mounting that prevents camera shake
- Easy customization with off-the-shelf or DIY parts
- Streamlined profile for reduced drag and better hydrodynamics
The best part? You’re not limited to “dive brand” accessories. Creative divers have found great mounting options in the firearms and tactical gear industry, as well as through 3D-printed custom mounts from hobbyist creators. If you can dream it, you can probably mount it.
GoPro vs. Insta360: Which Should You Use?
Both cameras are powerful—but your choice depends on what kind of footage you want.
GoPro (e.g., HERO13)
- Excellent stabilization for tracking shots
- Simple operation and wide-angle clarity
- Best for quick edits or diving with minimal gear
- Great for reef dives, wrecks, and dive instructor content
Insta360 (e.g., X4 or X5 with Invisible Dive Bundle)
- 360° video lets you reframe your shots later—no need to aim
- Perfect for cinematic edits and immersive storytelling
- Ideal for divers who want creative freedom in post-production
- Your footage becomes a playground for editing magic
Real Talk: If you’re using the Insta360 X5 on a VR DPV, you’re already ahead of the curve. The Invisible Dive Bundle makes your scooter disappear from the frame—leaving only smooth, surreal motion through the blue.
Mounting Tips for Stable, Cinematic Shots
- Use a Picatinny-compatible quick-detach or rigid mount with a vibration-dampening base. (Search Tactical Action Cam Mounts)
- Position your camera above or to the side of the DPV body, avoiding bubble trails and prop wash.
- Secure any cords, accessories, or battery backs to reduce drag and movement.
- Before every dive, do a quick test shake topside to check for looseness.
- You don’t need to overthink it—just make sure your setup is solid and clean.
Best Camera Settings for Underwater Footage
Resolution: 4K is ideal (GoPro: 4K60, Insta360: 5.7K+ if reframing)
Frame Rate: Use 60fps for smooth motion, or 120fps for slow-motion b-roll
Color Profile: Use flat or log profiles for better color grading later
Filters: Add red or magenta filters to correct color at depth (especially 10m+)
Battery: Keep sessions under 45–60 minutes to avoid overheating or missed shots
Always sync your settings to your environment and plan your battery use based on dive length.
Techniques That Make Footage Truly Cinematic
Use cruise control on your DPV to keep a constant speed
Film your dive buddy from behind or to the side for dynamic tracking shots
Glide toward structures like arches, walls, or coral heads for epic reveals
Avoid rapid turns or directional changes—think “floating camera,” not fighter jet
If using Insta360, don’t worry about aiming—just stay steady and reframe later
Dive In and Start Creating
Here’s a recent clip shot using the Insta360 X5 with the Suex VR Quantum:
Want to be featured in our next roundup? Tag your best videos with #MySuexDive on Instagram or Facebook and share how you’ve set up your scooter camera mount.
We can’t wait to see what you capture.
Ready to Make Your Next Dive Cinematic?
The Suex VR Series is built for more than just speed and range—it’s designed for creativity. Whether you’re building your own custom rig or just strapping on a GoPro before a weekend dive, your DPV can help you tell stories that surface-level footage simply can’t match.
Compare our models here or join an upcoming demo day to try one in action.Great dives deserve great footage. Let’s make it cinematic.